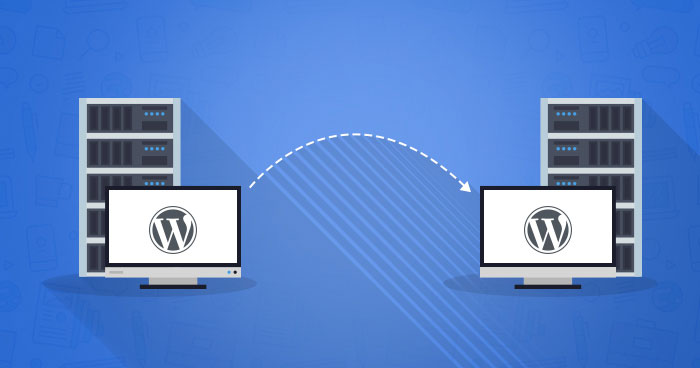
Migrating your website to a new web hosting can seem like a daunting task, but with the right plan and approach, it can be a smooth and successful process. Here’s a step-by-step guide to help you migrate your website to a new web host.
Contents
Choose a New Web Host
Before anything else, select a new web hosting provider that meets your website’s needs in terms of performance, support, scalability, and budget.
Backup Your Website
Create a full backup of your website, including all files and databases. You can use your current hosting control panel or a backup plugin if you’re using a content management system (CMS) like WordPress.
Set Up Hosting at the New Provider
Sign up for a hosting plan with your new provider. Configure your domain settings to point to the new hosting provider’s nameservers.
Create Email Accounts
If you have email accounts associated with your domain, create these accounts with the new hosting provider.
Upload Your Website Files
Using an FTP (File Transfer Protocol) client or the hosting provider’s file manager, upload your website files to the new server. Ensure they go into the appropriate directory, often called “public_html” or “www.”
Import Databases
If your website uses a database (common with CMS like WordPress), export your database from the old host and import it into the new one. Make sure your website’s configuration files (e.g., wp-config.php for WordPress) point to the new database.
Test Your Website
Before updating your DNS settings, access your website on the new host using a temporary URL or the IP address. Ensure everything works correctly and that there are no issues.
Update DNS Settings
Once you’re confident that your website works on the new host, update your domain’s DNS settings. This step can take time as DNS propagation occurs, so both the old and new hosts may serve your site temporarily.
Monitor the Transition
Continuously monitor your website during the DNS propagation period to ensure that everything remains operational. Make any necessary adjustments.
Cancel the Old Hosting Account
You can cancel your old hosting service account once you’re satisfied that your website has fully migrated to the new host. Make sure to back up any data you still need from the old host.
Additional Tips
- Keep Communication Lines Open: Maintain communication with your new hosting provider’s support team if you encounter any issues during the migration. They can often provide guidance and support.
- Check for Broken Links: After the migration, check for broken links and any issues with your website’s functionality. Make necessary updates or fixes.
- Implement SSL: If your website uses SSL, ensure that your new host supports it and implements it correctly.
- SEO Considerations: Keep an eye on your website’s SEO during migration. Update your sitemap and robots.txt file to reflect the new site structure and inform search engines of the change.
- Custom DNS Records: If you have custom DNS records (e.g., for subdomain email services), make sure to recreate them with the new hosting provider.
- Keep Old Hosting for a While: Don’t immediately cancel your old hosting account. Keep it for a while to ensure a smooth transition and as a backup in case any issues arise.
Migrating your website to a new host requires careful planning and execution, but with attention to detail and proper testing, you can ensure a seamless transition and minimal disruption to your website’s functionality.